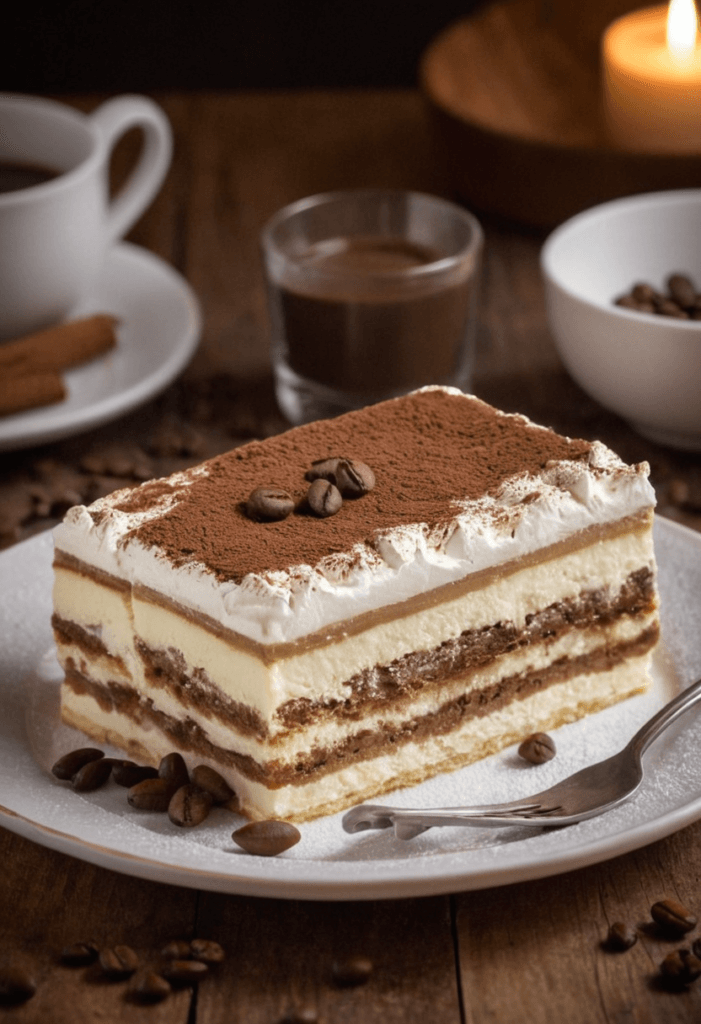
Easy Homemade Tiramisu recipe that delivers the authentic flavors of Italy. Discover this no-bake dessert and master the art of making the best tiramisu at home!
Tiramisu, meaning “pick-me-up” in Italian, is a dessert loved worldwide for its rich, indulgent layers of coffee-soaked ladyfingers and creamy mascarpone filling. With this detailed guide, you’ll master an Authentic Tiramisu Recipe that’s both straightforward and incredibly delicious. Whether you’re recreating the Best Tiramisu Recipe for a dinner party or indulging in a personal treat, this step-by-step guide ensures your Classic Italian Tiramisu turns out perfect every time.
Why This Easy Homemade Tiramisu Will Win You Over
This recipe is everything you want in a dessert:
- No-Bake Simplicity: You don’t need an oven to create this masterpiece.
- Perfect Texture: A creamy blend of mascarpone and whipped cream pairs beautifully with coffee-soaked ladyfingers.
- Versatile for Any Occasion: Whether it’s a casual family dinner or an elegant event, this dessert always impresses.
- Customizable: Easily adapt it to suit dietary needs or flavor preferences.
Ready to create a No-Bake Tiramisu Dessert that tastes just like it came from an Italian café? Let’s get started!
If you’ve been searching for the perfect Easy Homemade Tiramisu recipe, look no further! This beloved dessert, whose name translates to “pick-me-up” in Italian, captures the essence of indulgence with every bite. Hailing from the Veneto region of Italy, tiramisu has grown to become one of the world’s most cherished desserts, and it’s not hard to see why. With layers of coffee-soaked ladyfingers, velvety mascarpone cream, and a generous dusting of cocoa, this Classic Italian Tiramisu is pure magic. Best of all, it’s a No-Bake Tiramisu Dessert, making it incredibly easy to prepare at home no oven required!
What makes this Authentic Tiramisu Recipe so special is not just its irresistible flavor but its versatility. It’s a dessert that fits every occasion, whether you’re hosting an elegant dinner party, celebrating a birthday, or simply craving a luxurious treat. Imagine serving a dish that looks like it took hours to prepare but is surprisingly simple to make. The balance of creamy mascarpone, aromatic espresso, and the slight crunch of perfectly soaked ladyfingers makes every bite unforgettable.
Creating the Best Tiramisu Recipe doesn’t require expert baking skills. In fact, it’s a wonderful project for beginners. With just a few easy steps, you’ll craft a dessert that tastes like it came straight out of an Italian café. The no-bake nature of tiramisu means it’s ideal for hot summer days when you want a decadent dessert without turning on the oven. It’s also an excellent make-ahead option since the flavors only improve after chilling overnight.
The beauty of tiramisu lies in its adaptability. Want to make it kid-friendly? Simply swap the coffee liqueur for decaf espresso or omit the alcohol altogether. Looking for a gluten-free version? Use gluten-free ladyfingers. If you’re vegan, plant-based mascarpone alternatives and coconut whipped cream work beautifully. Tiramisu is a dessert that evolves to suit everyone at the table, while still maintaining its signature flavor profile.
Beyond its taste, tiramisu holds a cultural charm that adds to its allure. This dessert doesn’t just satisfy your sweet tooth; it uplifts your spirits. It’s no wonder it’s a favorite among coffee lovers and dessert enthusiasts alike. The layering process, though simple, creates a visual appeal that makes tiramisu as much a feast for the eyes as it is for the palate.
Whether you’re a seasoned cook or trying your hand at desserts for the first time, this guide will make it easy to recreate a timeless classic. We’ll walk you through each step, from brewing the perfect espresso to assembling the creamy layers, ensuring your tiramisu is as authentic and delicious as possible. Why wait? Dive into this No-Bake Tiramisu Dessert and let the flavors transport you to Italy. Share your creation with friends and family, or tag us on social media to showcase your masterpiece! Ready to get started? Let’s unlock the secrets of this Easy Homemade Tiramisu recipe today. Buon appetito!

Easy Homemade Tiramisu Recipe: A Taste of Italy in Every Bite
Description
This Easy Homemade Tiramisu recipe brings the charm of Italy right to your kitchen. With its luscious layers of mascarpone cream, coffee-soaked ladyfingers, and a dusting of cocoa, this dessert truly lives up to its name as a Classic Italian Tiramisu. Whether you’re a seasoned chef or a beginner, this no-fuss, No-Bake Tiramisu Dessert is bound to impress.
So, what are you waiting for? Dive into this Authentic Tiramisu Recipe, and watch it become a household favorite. Buon appetito! 🍴
Ingredients for the Best Tiramisu Recipe
For the Cream Layer:
For the Coffee Soak:
For Assembly:
How to Make Easy Homemade Tiramisu: Step-by-Step Instructions
-
Prepare the Mascarpone Cream
In a medium mixing bowl, whisk the egg yolks and sugar until the mixture is pale and fluffy (about 5 minutes). Add the mascarpone cheese and vanilla extract to the egg mixture. Gently fold until smooth and creamy. In a separate bowl, whip the heavy cream to soft peaks. Carefully fold this whipped cream into the mascarpone mixture to create a light, airy filling. -
Brew and Flavor the Coffee
- Brew a strong espresso and let it cool to room temperature.
- Add coffee liqueur to the espresso if desired for an extra kick of flavor.
-
Dip the Ladyfingers
- Quickly dip each ladyfinger into the coffee mixture, ensuring they are moist but not soggy. Over-soaking will make the tiramisu too watery.
- Lay the soaked ladyfingers in a single layer at the bottom of your dish (9x9-inch works well).
-
Assemble the Tiramisu Layers
- Spread half of the mascarpone cream mixture evenly over the first layer of ladyfingers.
- Add a second layer of coffee-soaked ladyfingers on top.
- Spread the remaining mascarpone cream over the top layer of ladyfingers, smoothing it with a spatula
-
Chill and Garnish
- Cover the tiramisu with plastic wrap and refrigerate for at least 4 hours (overnight is even better for enhanced flavor).
- Before serving, dust the top generously with unsweetened cocoa powder. Add dark chocolate shavings for an elegant touch.
Nutrition Facts
Servings 8
- Amount Per Serving
- Calories 310kcal
- % Daily Value *
- Total Fat 18g28%
- Saturated Fat 10g50%
- Cholesterol 120mg40%
- Sodium 120mg5%
- Potassium 120mg4%
- Total Carbohydrate 32g11%
- Dietary Fiber 1g4%
- Sugars 15g
- Protein 6g12%
- Vitamin A 500 IU
- Calcium 80 mg
- Iron 0.7 mg
* Percent Daily Values are based on a 2,000 calorie diet. Your daily value may be higher or lower depending on your calorie needs.
Note
Here are detailed tips to ensure your Easy Homemade Tiramisu recipe turns out flawless every time:
Choose Quality Ingredients
- Mascarpone Cheese: Always use fresh, high-quality mascarpone. Avoid substitutes like cream cheese unless absolutely necessary, as they alter the flavor and texture.
- Espresso: Brew a strong espresso for a rich coffee flavor. Instant coffee can work in a pinch, but fresh espresso truly elevates the dessert.
- Ladyfingers (Savoiardi): Opt for Italian-style ladyfingers, which are firm and absorb coffee without becoming soggy. Avoid soft ladyfingers as they can dissolve too quickly.
- Cocoa Powder: Use unsweetened cocoa powder for an authentic flavor. Sweetened varieties can make the dessert overly sugary.
Perfecting the Cream Layer
- Keep Ingredients Cold: Mascarpone and heavy cream should be chilled before mixing to achieve a stable and creamy texture.
- Whipping Cream: Whip the cream to soft peaks, not stiff peaks. Over-whipped cream can lead to a grainy texture when combined with the mascarpone mixture.
- Folding Technique: Gently fold the whipped cream into the mascarpone mixture using a spatula to retain the light and airy texture.
Coffee Dipping Tips
- Cool the Coffee: Ensure the brewed coffee is at room temperature or slightly cool to prevent the ladyfingers from becoming too soft or breaking.
- Quick Dips: Dip the ladyfingers into the coffee mixture quickly—no more than 1-2 seconds per side. Over-soaking can make the layers mushy.
- Optional Flavors: Add coffee liqueur, amaretto, or rum to the espresso for an extra depth of flavor, but adjust the amount to suit your taste.
Layering Like a Pro
- Start with a Firm Base: Begin with a single layer of coffee-soaked ladyfingers as the base to provide structure.
- Even Cream Distribution: Spread the mascarpone mixture evenly across the ladyfinger layers to avoid gaps or uneven textures. Use an offset spatula for precision.
- Layer Depth: For a fuller flavor, aim for at least two layers of ladyfingers and mascarpone cream.
Chill for Best Results
- Refrigerate Overnight: Allow the tiramisu to chill for at least 4-6 hours, but overnight is ideal. This resting time allows the flavors to meld and the dessert to set properly.
- Cover Properly: Cover the tiramisu tightly with plastic wrap or aluminum foil to prevent it from absorbing odors in the fridge.
Presentation and Garnishing
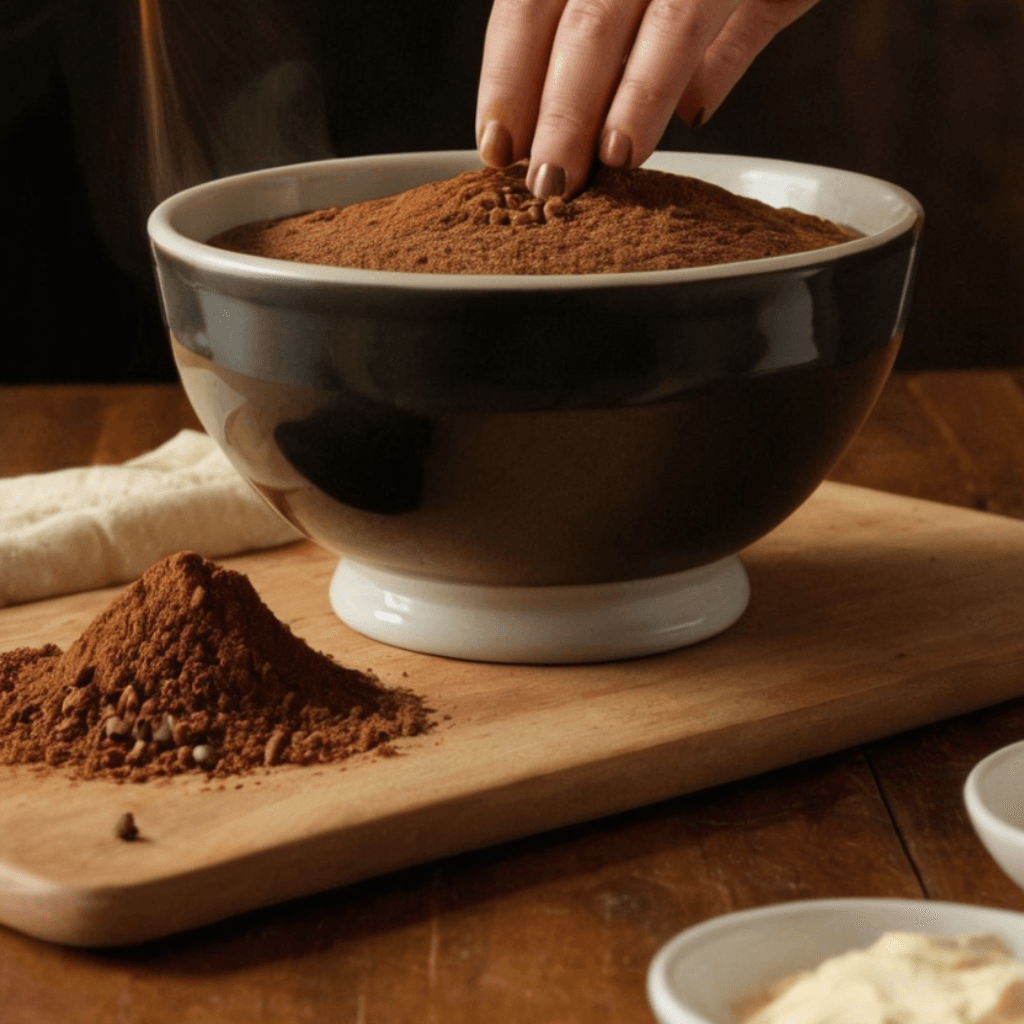
- Cocoa Powder Dusting: Dust the top layer with unsweetened cocoa powder just before serving for a fresh, vibrant look. Use a fine-mesh sieve for even distribution.
- Chocolate Shavings: For added elegance, garnish with dark chocolate curls or shavings. You can also add a sprinkle of instant espresso powder for an extra coffee kick.
- Serving Style: Serve chilled in individual ramekins, glasses, or a classic dish for a professional presentation.
Adjusting for Dietary Preferences
- Alcohol-Free Version: Skip the liqueur and use pure espresso for a kid-friendly or non-alcoholic tiramisu.
- Gluten-Free Tiramisu: Use gluten-free ladyfingers available at specialty stores or online.
- Vegan Option: Substitute mascarpone with vegan cream cheese or coconut cream, and use plant-based ladyfingers.
Storing Tiramisu
- Refrigeration: Store leftovers in the fridge, tightly covered, for up to 3 days.
- Freezing Option: You can freeze tiramisu for up to a month. Thaw it in the refrigerator overnight before serving. Keep in mind that the texture of the ladyfingers may change slightly after freezing.
Enhancing the Flavor
- Spices: Add a hint of cinnamon or nutmeg to the coffee mixture for a warm twist.
- Zest It Up: Grate a bit of orange or lemon zest into the mascarpone cream for a bright, citrusy note.
- Sweetness Adjustment: Taste the mascarpone mixture before layering and adjust the sugar to suit your preference.
Serve with Style
- Pair the tiramisu with freshly brewed espresso or cappuccino for a complete Italian café experience. For a luxurious touch, serve with a dollop of whipped cream or a drizzle of chocolate sauce.
These tips will ensure your Classic Italian Tiramisu not only looks and tastes amazing but also becomes a foolproof dessert in your repertoire!


